Drupal 8 Couchbase Integration
Drupal 8 Couchbase Integration
What is Couchbase?
Couchbase Server, originally known as Membase, is an open-source, distributed (shared-nothing architecture) NoSQL document-oriented database that is optimized for interactive applications.
Couchbase Server 4.0: The world’s best database for building web, mobile & IoT applications
Couchbase Delivers 6x Better Price / Performance than Cassandra
Couchbase 4.5x Faster than MongoDB with Wired Tiger Storage Engine
Couchbase is being used by big mission critical tech companies such as PayPal and eBay, and other big ones such as LinkedIn and Symantec.
To keep it short, Couchbase is the business ready version of Redis/Mongo. With a faster development peace and many more features oriented at scaling monster size applications, and better reliability and functionality.
This is an entry level tutorial. Couchbase is powerful and with great power comes great complexity. You can read the full Couchbase documentation here.
Installing the Couchbase Server
Download and run the Couchbase installer from here: http://www.couchbase.com/nosql-databases/downloads
Couchbase comes in two flavours:
- Community
- Enterprise
They are both the same product, but with Enterprise you get support and faster bug fixes.
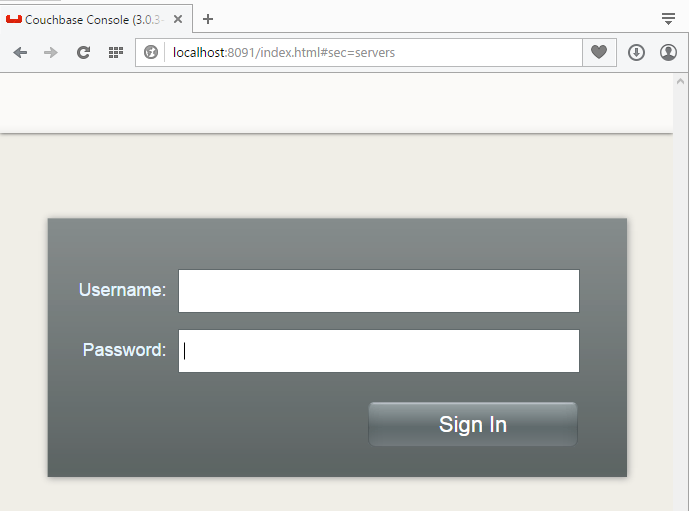
After installing Couchbase you can access the management interface by navigating to port 8091 of the Couchbase server (or the one you specified during setup):
Once your are inside you will se the Couchbase management UI:
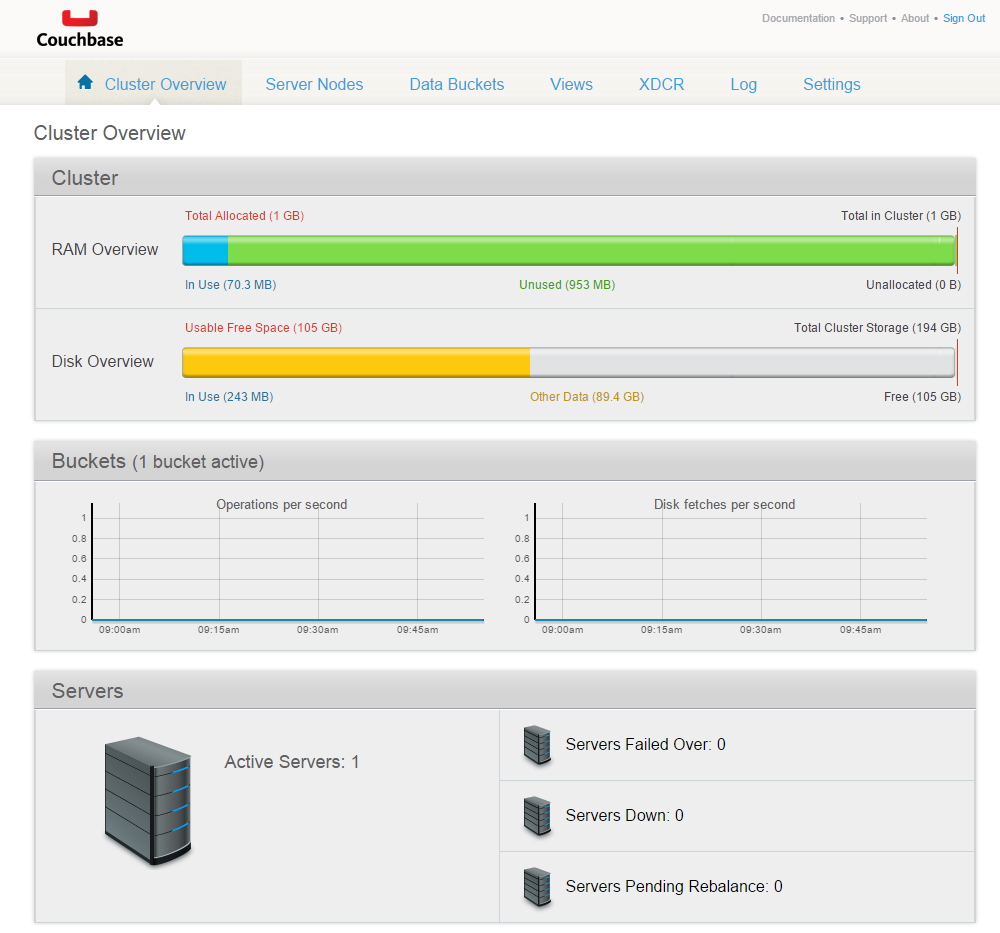
For the purpose of this tutorial you need to know some very basic concepts about Couchbase:
- The management UI has very limited functionality - but enough to get you up and running. Advanced management is done through the CLI or through the REST API (recommended).
- The management UI has very interesting statistics reports that help you monitor usage and health of the server.
- A server can have several buckets. It is not recommended to have more than 5 buckets on the same server. Don't worry, you can share the same bucket between applications. Indeed, the most common Couchbase setup is single bucket.
- A server has a finite amount of RAM assigned to it, and the combined RAM assigned to buckets cannot exceed that total.
- Couchbase will smartly combine disk storage with RAM storage to persist your data. To get the best performance you must treat this storage as if it were regular database storage: keep it close and keep it fast (SSD).
Using the CLI is not very intuitive, so here go some basic examples.
Delete a bucket named "default":
couchbase-cli bucket-delete -c localhost -u USERNAME -p "PASSWORD" --bucket=default
Flush a bucket named "default":
couchbase-cli bucket-flush -c localhost -u USERNAME -p "PASSWORD" --bucket=default
List all buckets:
couchbase-cli bucket-list -c localhost -u USERNAME -p "PASSWORD"
Before going on we need a bucket to store our data. Navigate to "Data Buckets" and go to "Create New Data Bucket", you will be presented with this screen:

A quick summary of the settings:
- Bucket name: not important at all. A bucket is binded to a specific port, only used for administrative purposes.
- Bucket type: this can be missleading because both Memcache and Couchbase bucket are both 100% compatible with the Memcache protocol. You probably want a Couchbase bucket type, that has many more features. See the details here.
- Memory size: the maximum amount of RAM this bucket can use.
- Flush: Couchbase if a full featured NoSQL storage engine. Originaly - and still quite often now - these engines are used for key value caches. The flush setting is just a security measure. If you are using Couchbase only as a cache storage, you set on the Flush flag to allow a flushing (completely erasing) the cache contents. On the other hand, if you are using Couchbase to store real data that cannot be lost - such as storing Drupal entities - you should not enable flush.
Opening ports
If you are operating couchbase on a Firewall controled network you need to make sure that the proper ports are open between the couchbase server and client:
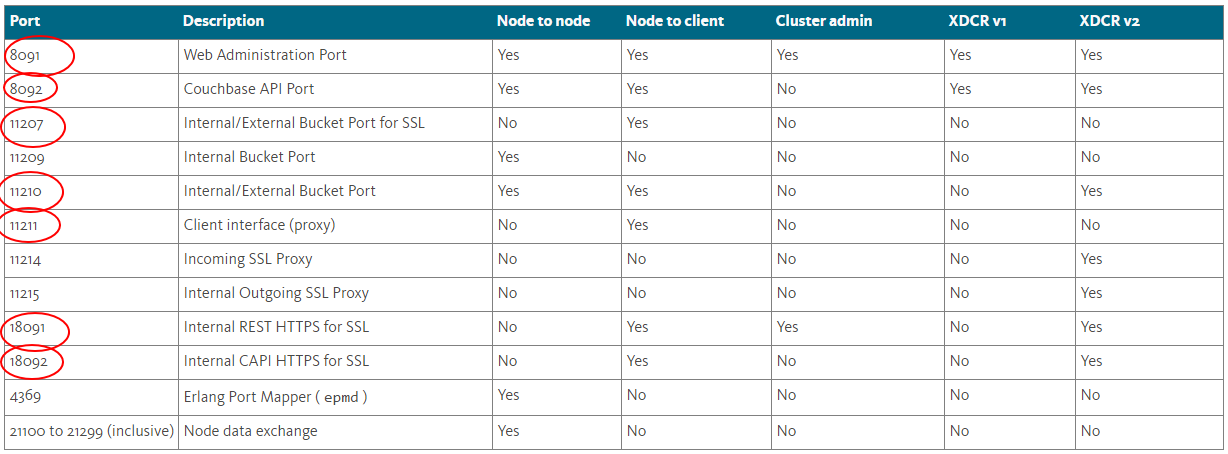
Depending on your type of setup, bucket type and what type of functions you are using (such as NQL queries) you will need to open different set of ports. To be on the safe side, open all ports marked in red in the above picture.
Use the following powershell command to open all of the required ports:
new-netfirewallrule -displayname CouchbaseServer -direction inbound -action allow -protocol tcp -LocalPort 8091,8092,8093,11207,11209,11210,11211,11214,11215,18091,18092,4369,21100-21299
Make sure that you only open these ports to a network interface that is not publicly exposed to the internet, because if you have buckets that do not require authentication your couchbase server will be exposed.
The Drupal 8 Couchbase module uses the N1QL query engine that runs on a port not listed by couchbase (8093). You should also open this port for the integration to properly work.
Setting up the Couchbase PHP client
To talk to our couchbase server from PHP we need the Couchbase php extension and client. There are two steps involved in setting this up:
- Download and enable the couchbase PHP extension. You can download compiled binaries from here.
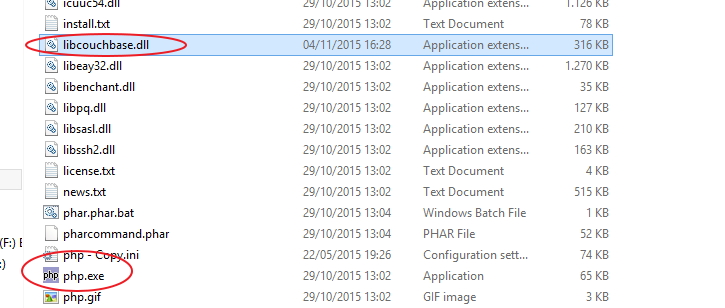
- Download the Couchbase C SDK. Look for the libcouchbase.dll file in the bin folder and copy it to where your php.exe file resides:
Integrating Couchbase with Drupal
In Drupal 7 the preferred way of integrating Couchbase and Drupal was to leverage the Couchbase Memcache compatibility layer (through the Memcache module and extension). One of the reasons for this is that Couchbase is very new in the market and was not a mature technology until very recently (I guess that by the time they released Couchbae 4.0 in mid 2015). Indeed, the Couchbase team did not get serious about the PHP extension until very recently.
But now that the Couchbase PHP extension is ready to rock it is time to unleash the power of Couchbase in a native way from Drupal. That is where the Couchbase Drupal module comes in. Currently the module supports native implementations for Drupal's:
- CacheBackend
- TagsChecksum
- LockBackend
- FileCacheBackend
To start using the Couchbase Drupal integration first register your couchbase server in settings.php:
// Couchbase server.
$settings['couchbasedrupal'] =
  ['servers' =>
    ['default' => ['uri' => 'couchbase://127.0.0.1'] ]
  ];
Download and enable the Couchbase Drupal module:

After enabling the module it will automatically modify the service container to:
- Set Couchbase as the default persistent cache in ChainedFastBackend
- Set Couchbase as the default storage for the cache tag invalidation service (cache_tags.invalidator.checksum)
Most of the performance gains from using Couchbase will come from these two changes, that are performed automatically by the module.
To take the integration even further, you can setup specific implementations for Drupal's:
- Lock backend
- File cache backend
- Session storage (not implemented yet at the time of this writing)
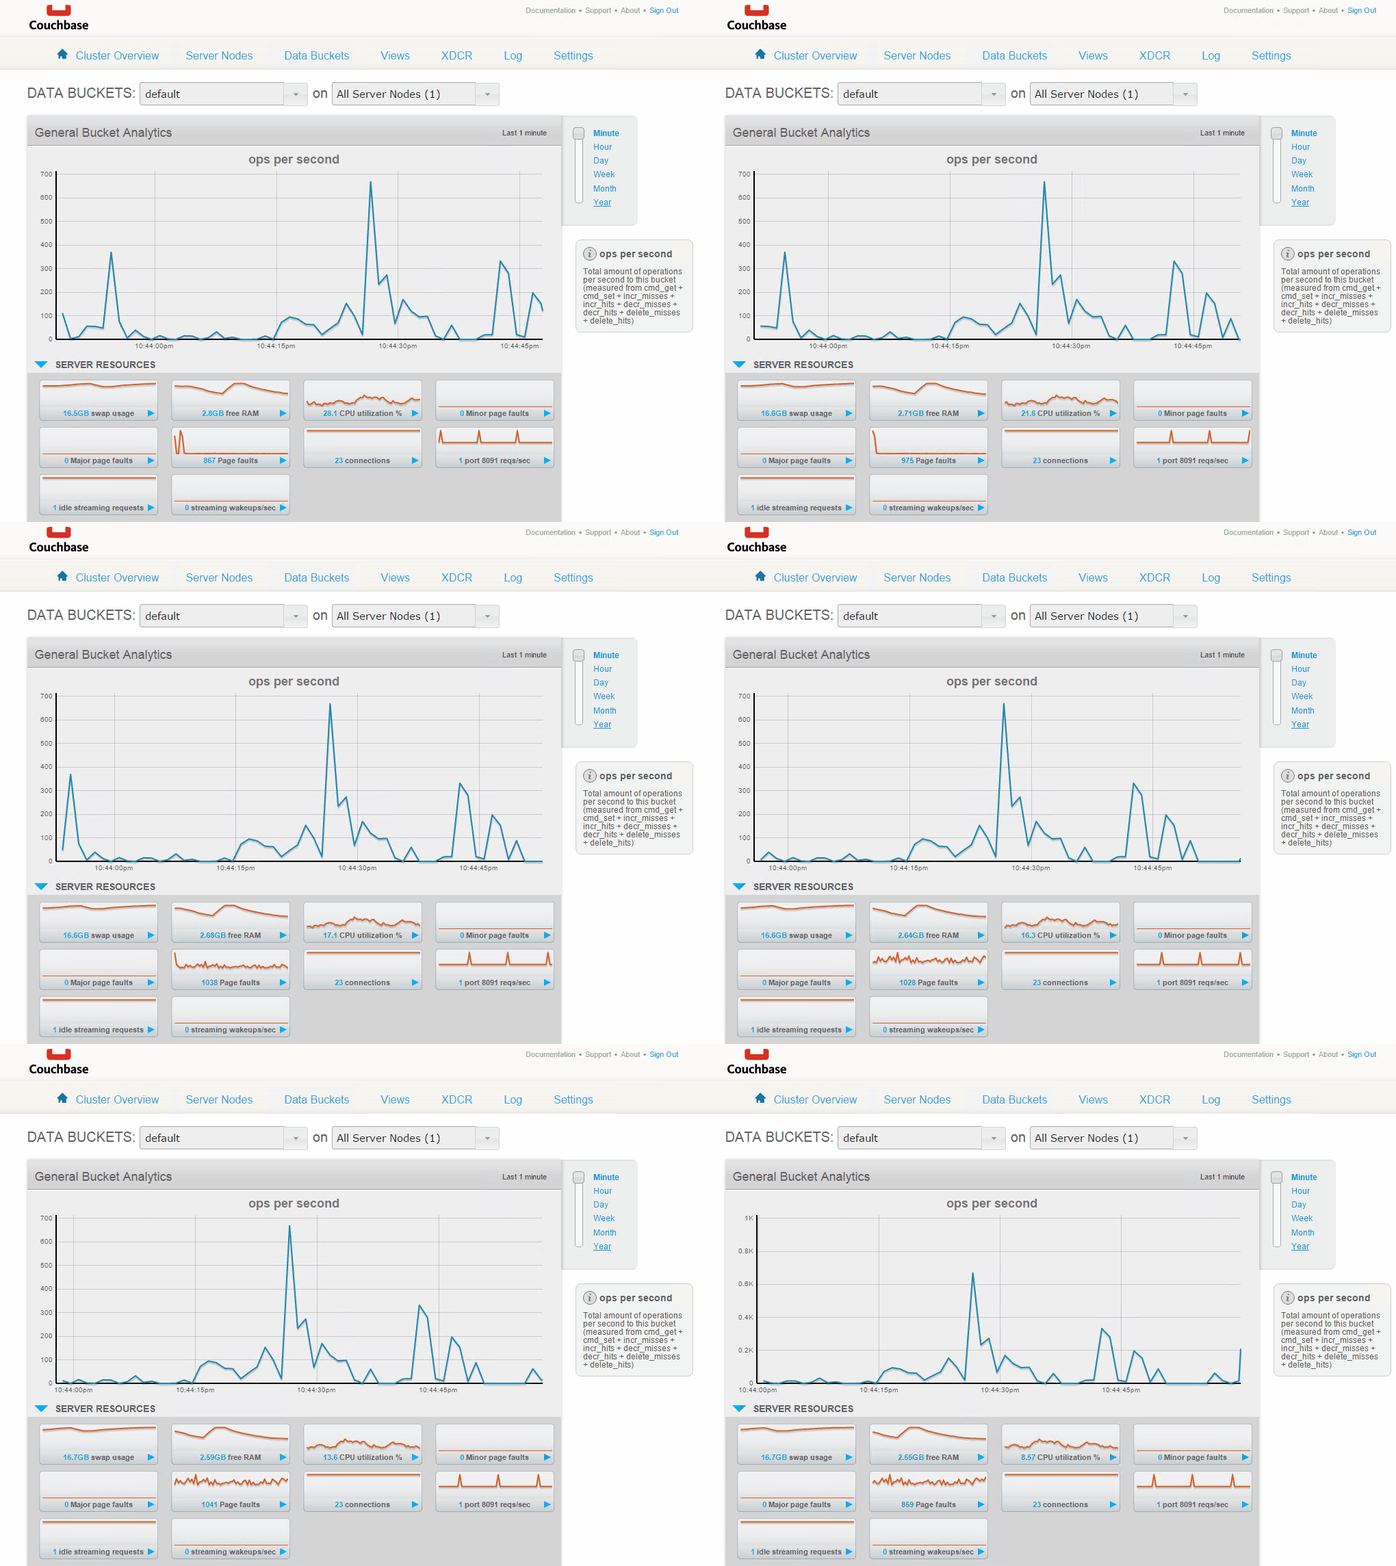
To confirm that the integration is properly working open the Couchbase management GUI and take a look at the real time statistics:

Add new comment